How to use an Aeropress outdoors 🌿
Invented by a frisbee engineer (yeah you read that right!) back in 2005, the AeroPress coffee brewer is one of our go-to pieces of gear. It's easy to throw in your backpack, quick to clean, and perfect for that brew on the go that will always put a smile on your face. The best thing? You can't really go wrong with it, just load it up with coffee, add water and plunge - it's always going to give you a good brew. Though, as with all things, there's good, and then there's great. Let's talk about the latter.
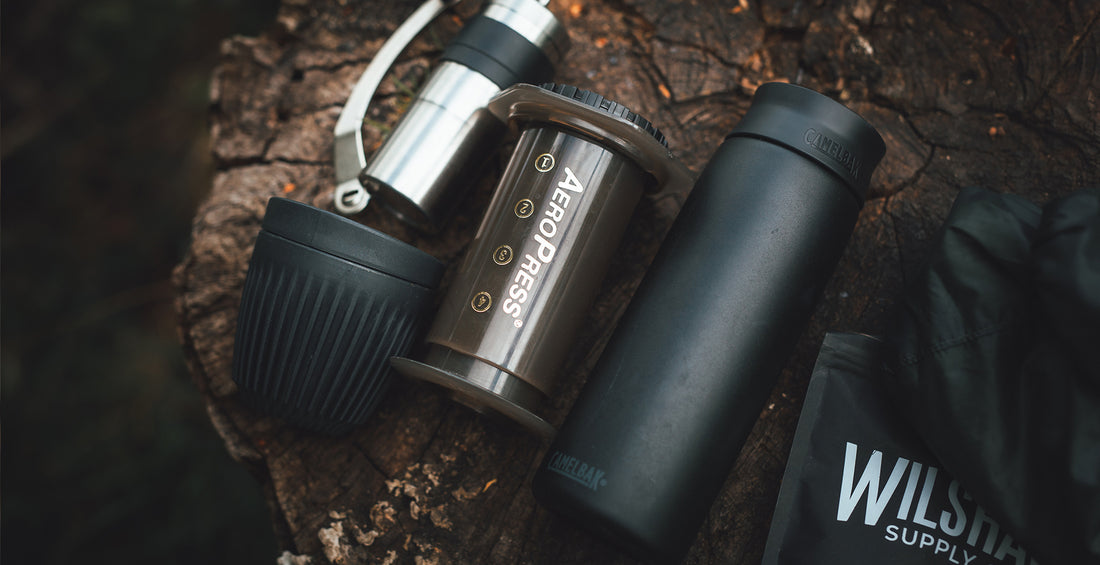
What you'll need:
It all starts with the grind.
Getting the grind right is vital to brewing a great cup of coffee, you will be amazed at just how much it can alter the flavour. Eventually it all comes down to personal taste and experimentation, but an espresso-like fine grind is a great place to start when it comes to AeroPress, as the mix of pressure and full immersion extraction makes for a very smooth cup of coffee. Coarser grinds will work well too, but you'll need to test what works for your particular coffee needs. We'll write a post about grind size in the near future.

Leave the scales at home.
Baristas will talk a lot about a 17:1 water to coffee ratio, but when you're balancing your brewer on the flattest rock you could find and the wind is in your face, math is the last thing you want to think about. What we suggest is finding out ahead of time what the right amount of coffee looks like in your grinder, or how many spoons of ground coffee adds up to the right weight. By doing this at home, ahead of your next adventure, you'll be able to estimate the perfect amount by eye, without bringing the kitchen scales halfway up a mountain.
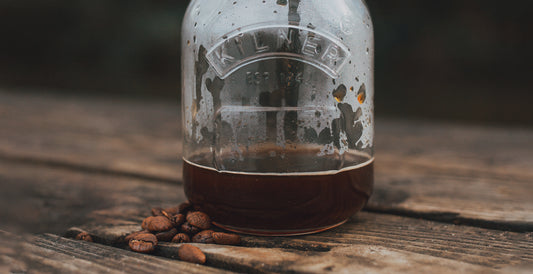
When brewing for one, we suggest using 22g of coffee and pouring hot water to fill. This will give you a strong brew that lies somewhere between Espresso and Americano, you can then add warm milk or dilute with more hot water to taste.
When brewing for two, use 34g and do the same. This will produce a concentrated Espresso-like coffee that can then be divided between two cups, and topped up with hot water or warm milk. It's quick, easy and will impress whoever you're with as to the quality of the coffee.
Note that we don't talk about the temperature of the water. It does matter, but when outdoors we don't think it makes enough of a difference to worry about. Our advice is to get your water to a boil and then leave for 30-60s before pouring, or simply fill up a flask with boiling water prior to leaving home.

Ready, steady, brew!
So that's the what, let's talk about how. We like the inverted method for AeroPress, which means lining up the end of the plunger with the '4' mark and placing the whole thing upside down so that the inner brewing chamber is facing upwards. We would then recommend grinding your coffee before putting your water on to boil. Add the ground coffee to the brewing chamber, wait for your water to cool a little and hit start on the stopwatch app on your phone - it's time to brew.
- Add hot water to the brewing chamber.
- Immediately start stirring, stir for 30 seconds.
- Carefully slide brewing chamber downwards so the coffee is right at the top.
- Place your filter and screw on the top cap.
- Carefully place/hold a mug on top of the AeroPress.
- Wait until your stopwatch reads 1 minute 15 seconds and flip so that the mug is now on the bottom.
- Gently plunge the AeroPress until you hear the hiss of air escaping.
- Enjoy your coffee!

It sounds a little complex when written down, but it's very easy in practice and an incredible cup of coffee whether indoors or outdoors. The Aeropress gives so much control over every aspect of the brewing process, which leads to being able to experiment and find the perfect recipe for your taste. This is simply our favourite way to use it, and we hope it inspires you to get out there and make great coffee.
Fire any questions you may have our way via Facebook, Instagram or Twitter and make sure to check out our coffee blends to fuel your next adventure.